Optimizing Images for Web Performance and Document Verification
Images account for more than 60% of the bytes on an average webpage. If your images aren't optimized, your website will be slow, your SEO will suffer, and your users will leave. But optimization isn't just for web designers�it's also crucial for anyone uploading documents to official portals.
In this final guide of our series, we'll look at the technical side of image optimization. You'll learn how to balance quality and file size to ensure your images are fast, clear, and perfectly formatted for any requirement.
1. The Two Pillars of Optimization
Image optimization boils down to two things: Dimensions (scaling) and Compression. Most people make the mistake of using one but not the other. To truly optimize an image, you must address both.
- Scaling: Resizing the image to the exact pixel dimensions it will be displayed at. Using a 4000px wide photo in a 400px wide container is a massive waste of bandwidth.
- Compression: Removing unnecessary data from the image file. This can be "lossy" (small quality loss for huge size savings) or "lossless" (no quality loss but smaller size savings).
2. Choosing the Right Format
The first step in optimization is choosing the right container. Each format has a specific use case:
- JPG/JPEG: Best for photographs. It offers high compression but doesn't support transparency.
- PNG: Best for logos, screenshots, and images with text. It supports transparency but usually results in larger file sizes for photos.
- WebP: The modern standard. It offers significantly better compression than both JPG and PNG while supporting transparency. Most modern browsers and platforms now support WebP.
- SVG: The only choice for icons and simple illustrations. Because it's code-based, it can scale infinitely with zero increase in file size.
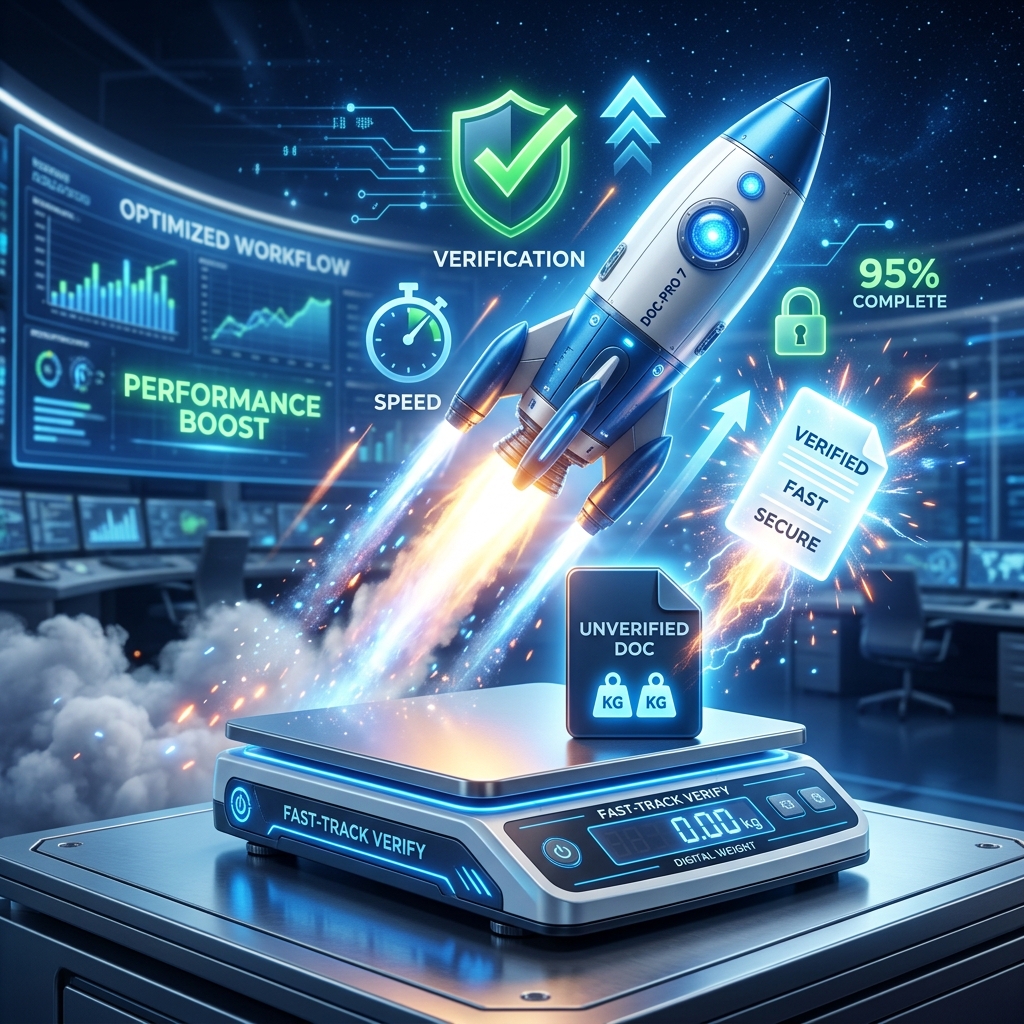
3. Optimizing for Document Verification
Official portals for Aadhaar, PAN, or KYC often have strict limits (e.g., "File must be under 500KB"). If your scan is too large, it will be rejected. But if you compress it too much, the text becomes unreadable, and your application might be denied.
The Strategy: Resize your document scan to roughly 2000px on the longest side. This is usually high-res enough for any official purpose while keeping the file size manageable. Then, use a PNG to JPG converter with a quality setting around 80% to hit that sweet spot of clarity and size.
4. The Impact of Speed on SEO
Google uses "Core Web Vitals" as a ranking factor. One of the most important metrics is "Largest Contentful Paint" (LCP), which is often the main hero image on your page. By optimizing that image�converting it to WebP and ensuring it's properly scaled�you can significantly improve your search engine rankings.
5. Professional Tools in One Workspace
You don't need a degree in computer science to optimize images. A clean workspace like VerifyDocs provides all the tools you need in one place. From Image Upscaling (for low-res documents) to Format Converters (for compatibility), you can handle every aspect of the optimization process in seconds.
Conclusion
Optimization is the bridge between a great visual and a great user experience. Whether you're building a portfolio or applying for a government document, taking those few extra seconds to scale and compress your images makes all the difference. Explore our suite of Image Optimization Tools today and see how fast your workflow can be.
Boost your performance
Scale, compress, and convert your images for the best possible performance online. Fast, free, and local.